cd /var/www/html
ls
mkdir phpworkshop
cd phpworkshop
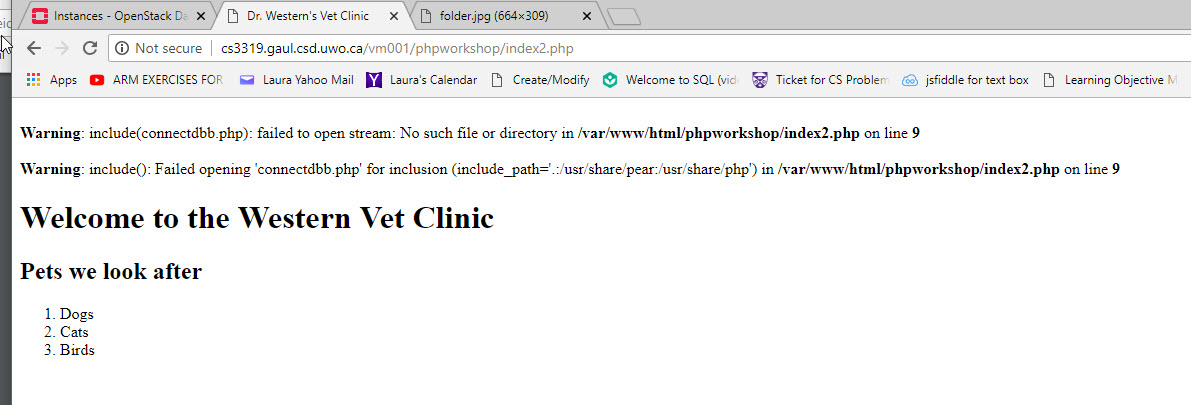
nano index2.php
| <!DOCTYPE html> <html> <head> <meta charset="utf-8"> <title>Dr. Western's Vet Clinic</title> </head> <body> <h1>Welcome to the Western Vet Clinic</h1> <h2>Pets we look after</h2> <ol> <li>Dogs</li> <li>Cats</li> <li>Birds</li> </ol> </body> </html> |
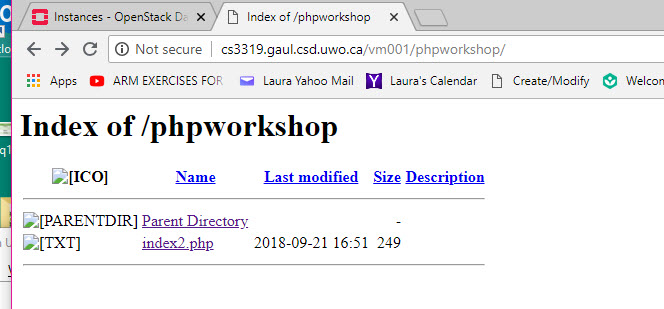
http://cs3319.gaul.csd.uwo.ca/vm???/phpworkshop/
where ??? is your virtual machine number. Remember to put a / at the very end of the URL or it might not work.