Gr8 Designs for Gr8 Girls
Make Your Own Comic Book Workshop
Think of a simple story idea and get some photos
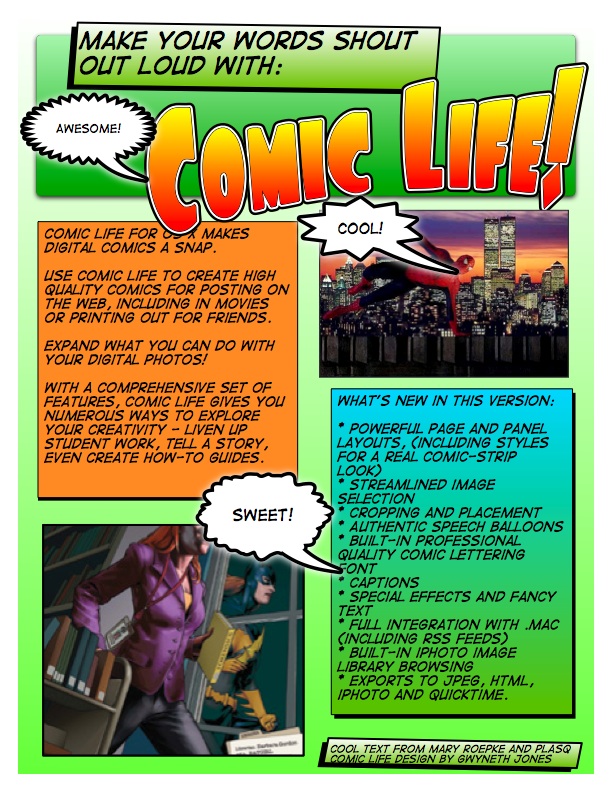
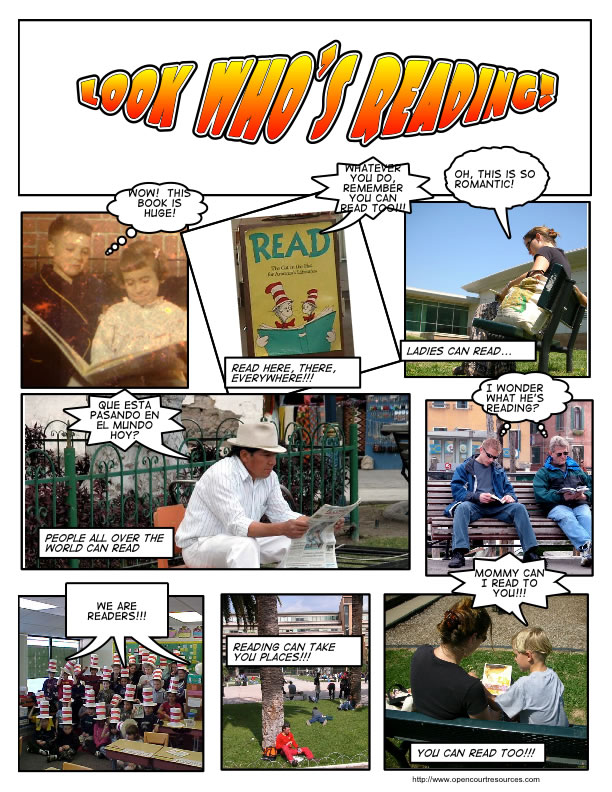
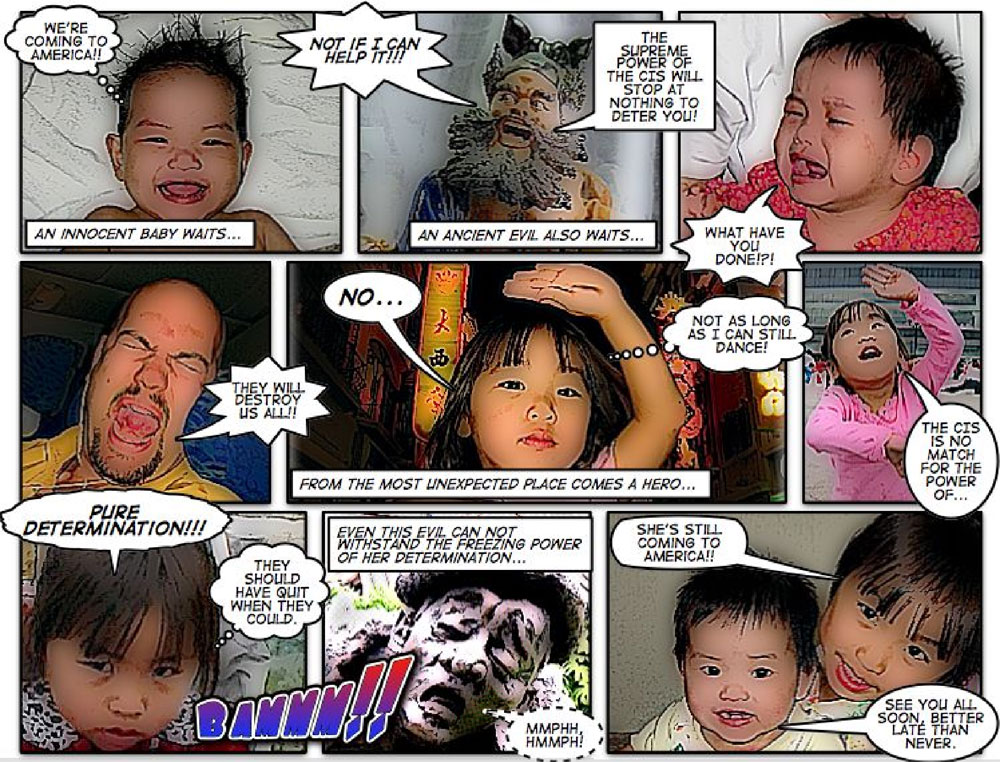
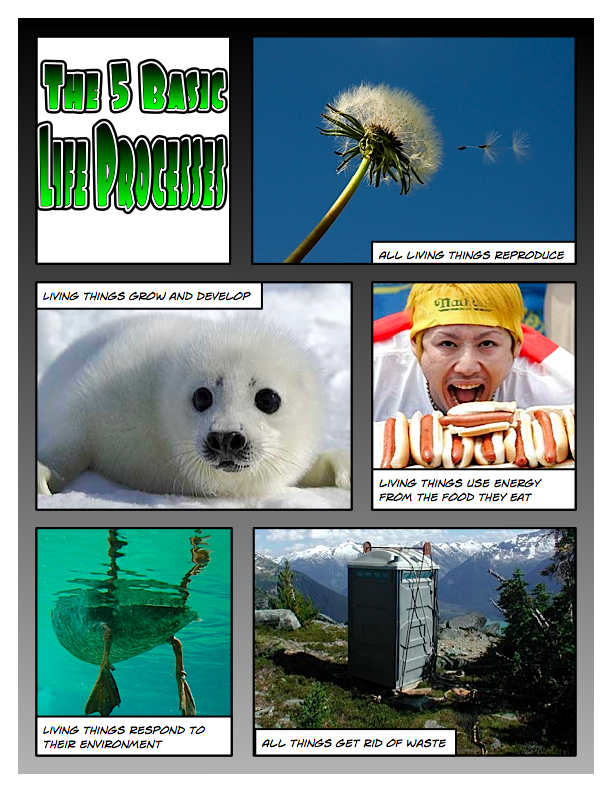
- Here is an example of what we are going to do: http://www.csd.uwo.ca/~lreid/grade8girls/comiclife/samplecomic.pdf
- Get into groups of 1, 2 or 3 people.
- Think of a simple title for your story. You might want to make yourself the hero(s) or villains. If you don't have any ideas, here are some suggestions (let's assume the people in your group are Matthew and Jane)
- The Adventures of Matthew and Jane and the Killer Lawn Mower
- Matthew and Jane save the town of Sarnia
- Matthew beats Jane in the Scariest Chess Game Ever
- Jedi Jane and her Apprentice Matthew
- Jane, Matthew, Betty and Veronica Go For a Milk Shake
- Think of 5 or 6 poses you will need for your story.
- Pose for our photographer, he will take the photos and then upload them so you have access to them for the next steps
Using Photoshop To Edit The Photos
- Log onto our machines, your login id will be written on the board and the password will be written on the board
- Click on the Start button and select All Programs>Abode Design Premium CS3> Adobe Photoshop CS3
- Go to the File menu and click File>Open
- In the dropdown called Look In, select Temp on 'dogmatix\ntsys' (T:), then pick the folder called classphotos. In this folder will be all the images that the photographer took. Click on the first image you want to use and hit Open
- Let's save your image as a Photoshop file now:
- Select File>Save As.
- At the top of the Save As window, change the Save In: box to be guest? on 'dogmatix\guest'(X:)
- Change the name in the File Name box to be some you will remember like: medoingapunch
- Under the Format drop down box, select Photoshop (*.PSD, *.PDD)
- Click on the Save button
- Find the Layers tab on the right hand lower window of the screen. Right click on the background layer and select Layer From Background and then click on OK. You should now have a layer called Layer 0.
- Save again (File>Save) (click on the OK button is you get a message called Maximize compatibility)
- Now let's try to cut out your image from the background of the ugly white wall. There are several ways to do this, we will look at one of the ways:
- NOTE: Before starting, it can be helpful to zoom in or zoom out, to zoom in or out, go to the Navigator tab area on the right hand side, near the top, and try sliding the slider with the %. This lets you zoom in and out. Try to make the area you want to cut out as big as possible but being able to see all of it..Use the red rectangle in the Navigator area to move the area you are zoom in on.
- MAGIC WAND TOOL
- From the tool box along the left hand side of the screen, select the Magic Wand Tool
- At the top area, on the left, make sure the Contiguous box is checked and set the Tolerance to 32.
- Click on the white background and the background should get selected
- Click on Edit>Cut and all the white background should disappear
- If some white background is still there, like around an elbow on a hip, then click in that area and repeat step 4 again.
- If you make a mistake, do Ctrl Z. If Ctrl Z, doesn't fix it, call a teacher
- If you don't like what is being selected, do Select>Deselect to try again. Change the tolerance to a lower number to select less of the image or a high number to select more of the image.
- Now save your work again File>Save
- If you want to crop your work a bit, select the CROP icon from the tool box (the fifth tool down from the top). Make sure the Width box at the top and the Height box at the top are empty (no values in them). Use your mouse (hold it down) to make a square around the area you want to keep. Then when you are happy with the area, click on the checkmark at the top right to crop the image. Do Ctrl Z if you dont like it
- Now you can make your image look a bit more "cartoony" if you want. Try each of the following, play around with them. :
- Filter>Stylize>Wind Do Ctrl Z if you don't like it
- Filter>Distort>Twirl Do Ctrl Z if you don't like it
- Filter>Brush Strokes>Ink Outlines (or try the other ones), Ctrl Z if you don't like it
- Save your file again: File>Save
- Now save your work in a format that the comic book software can use:
- File>Save As
- In the Save In box at the top, make sure it is still on the guest? on 'dogmatix\guest'(X:):
- In the Format box select CompuServe GIF (*.GIF)
- Give it a name you will remember (or just use the same name)
- Click on Save, hit OK, then OK again (if you get another message box, just click on OK again and again till the message boxes go away)
- Select File>Close to close this image and start to work on a new one
- Repeat steps 3 to 14 for any other pictures you want to clean up and distort
- Once you have all the photos editted the way you want, you can start working on your comic book. Remember to leave yourself enough time to do the comic book steps below!
Building Your Comic Book
- SAVE OFTEN WHEN USING COMIC LIFE...Sometimes your work just disappears if you have forgotten to save!
- Click on the Start button and select All Programs>plasq>Comic Life (or you can just click on the Comic Life Icon on the desktop)
- Maximize the window if it is not yet maximized (click on the square at the top right, next to the X that closes the window)
- Go to the File menu and click File>Save
- In the Save In area, click on the dropdown button and change the Save In: box to be guest? on 'dogmatix\guest'(X:)
- For File Name type your first name and last name WITH NO SPACE AND ALL LOWER CASE, for example katiecook
- Hit the Save button
- Select the template you want from the right hand side of Page Templates. Drag and drop it onto the "page" in the middle of the window.
- On the bottom right, click on the Explorer button. At the top of the Explorer window, where it says Folder, click on My Computer. Then double click on the icon/picture call guest? on 'dog...."
- You should now see all the pictures you edited. Select one of you images and drag it into one of the frames on the page. Slide it around to position it.
- Select File>Save
- Add the word bubbles at the bottom of the screen to your frame (drag and drop the word bubble) . Type in the words you wan and then click on the blue dot to move the mouth position of the bubble. You can also resize this bubble. If you make any mistakes just type Ctrl Z to undo your mistake.
- Drag and drop the Lettering icon at the bottom of the screen onto one of your frames if you want a title
- Drag and drop the abcde icon at the bottom of the screen onto one of your frames if you want to add some descriptions about the plot
- NOTE: for both steps 10 and 11, click on the text and then try using the big Style and Color and Fonts buttons at the top of the screen, just under the menus to make the writing more interesting. Also you can change the style of the frames by clicking on a frame and then selecting Style
- REMEMBER TO KEEP SAVING EVERY SO OFTEN ---> FILE>SAVE
- If you want to use some other images, such as spiderman, we have download a few. You can open them by clicking on the Explorer button near the bottom right and then where it says Folder select My Computer and then select the Temp on Dog...: (the T: drive) and then select the folder called sampleimages, then you can drag and drop those images onto the frames on your page
- Save your work every 5 minutes! (click on the Save button near the top left or select the File menu and select Save)
- When you have finished your story, SAVE IT AGAIN (File>Save)
- Now let's print it. Select the File menu, then select Print, then in Name:, use the arrow drop down box and scroll till you see \\KOALA\Colour and click on that printer. Then click on the OK button and tell the teacher and he/she will go pick up your picture for you from the printer (the colour printer is in another room)
- Now let's save it in a way that you can see it again without having to use the Comic Life Program. Again select File menu, select Print, but this time don't pick the \\KOALA\Colour printer, this time instead pick the printer call CutePDF Writer
and click on the OK button. DO NOT CLICK ON THE CANCEL box that comes up, you just have to wait a minute. Then you will see a Save As window with a File Name box. In the Save In: box, make sure you select guest? on 'dogmatix\guest'(X:)'.." and leave the File Name: as yourname.pdf
and click on the Save button
- Tell your teacher when you are done and he/she will upload you pages to the internet. Then you can show your family after you leave
Some Sample Ideas:
REMEMBER TO THINK ABOUT DOING A DEGREE IN COMPUTER SCIENCE AT THE UNIVERSITY OF WESTERN ONTARIO, ONE OF THE BEST SCHOOLS IN CANADA FOR COMPUTER SCIENCE! You might be the person who writes the software to let other kids make their own comic books!